Chances are, you didn’t get into real estate because you’re interested in photography. Yet we all know that when your client takes to the Internet to look for a new home, they’ll scroll through seemingly endless MLS listings.
In that moment, your photos either grab attention or they don’t.
Many successful realtors pay professional photographers to snap and edit photos of their properties, but what if that isn’t in your budget? What if your friend who promised to help you take photos isn’t available, and you need to get this done right now? Or better yet, yesterday?
Here are some real estate photography tips to help you easily shoot and edit stunning photos using only your smartphone.
Bonus Content: Grab a copy of our Social Media Field Guide.
1. Lighting
A photo editor can only do so much with a grainy, dull image, so get as much light in your shot as possible. Shoot in the early morning (before your day gets crazy) or late afternoon when the natural light is soft. Open blinds and curtains to let in as much natural light as possible.
In cloudy weather you may have to resort to staged lighting. When you have to shoot on a dreary day or in a room without a window, there’s an easy workaround: carry a few spare light bulbs in your car. Simply switch the bulbs in the room you’re working in to daylight bulbs with a color temperature of 5600k. This will give you a bright, cheerful image.
Most importantly, do not mix lighting. If you’re in a room with natural light, leave the lights off. If it’s unpleasant outside, close the curtains and turn on all the lights. When you mix lighting your camera adjusts to one type of light only. This makes lamps look dull and ugly, and daylight look eerie and blue.
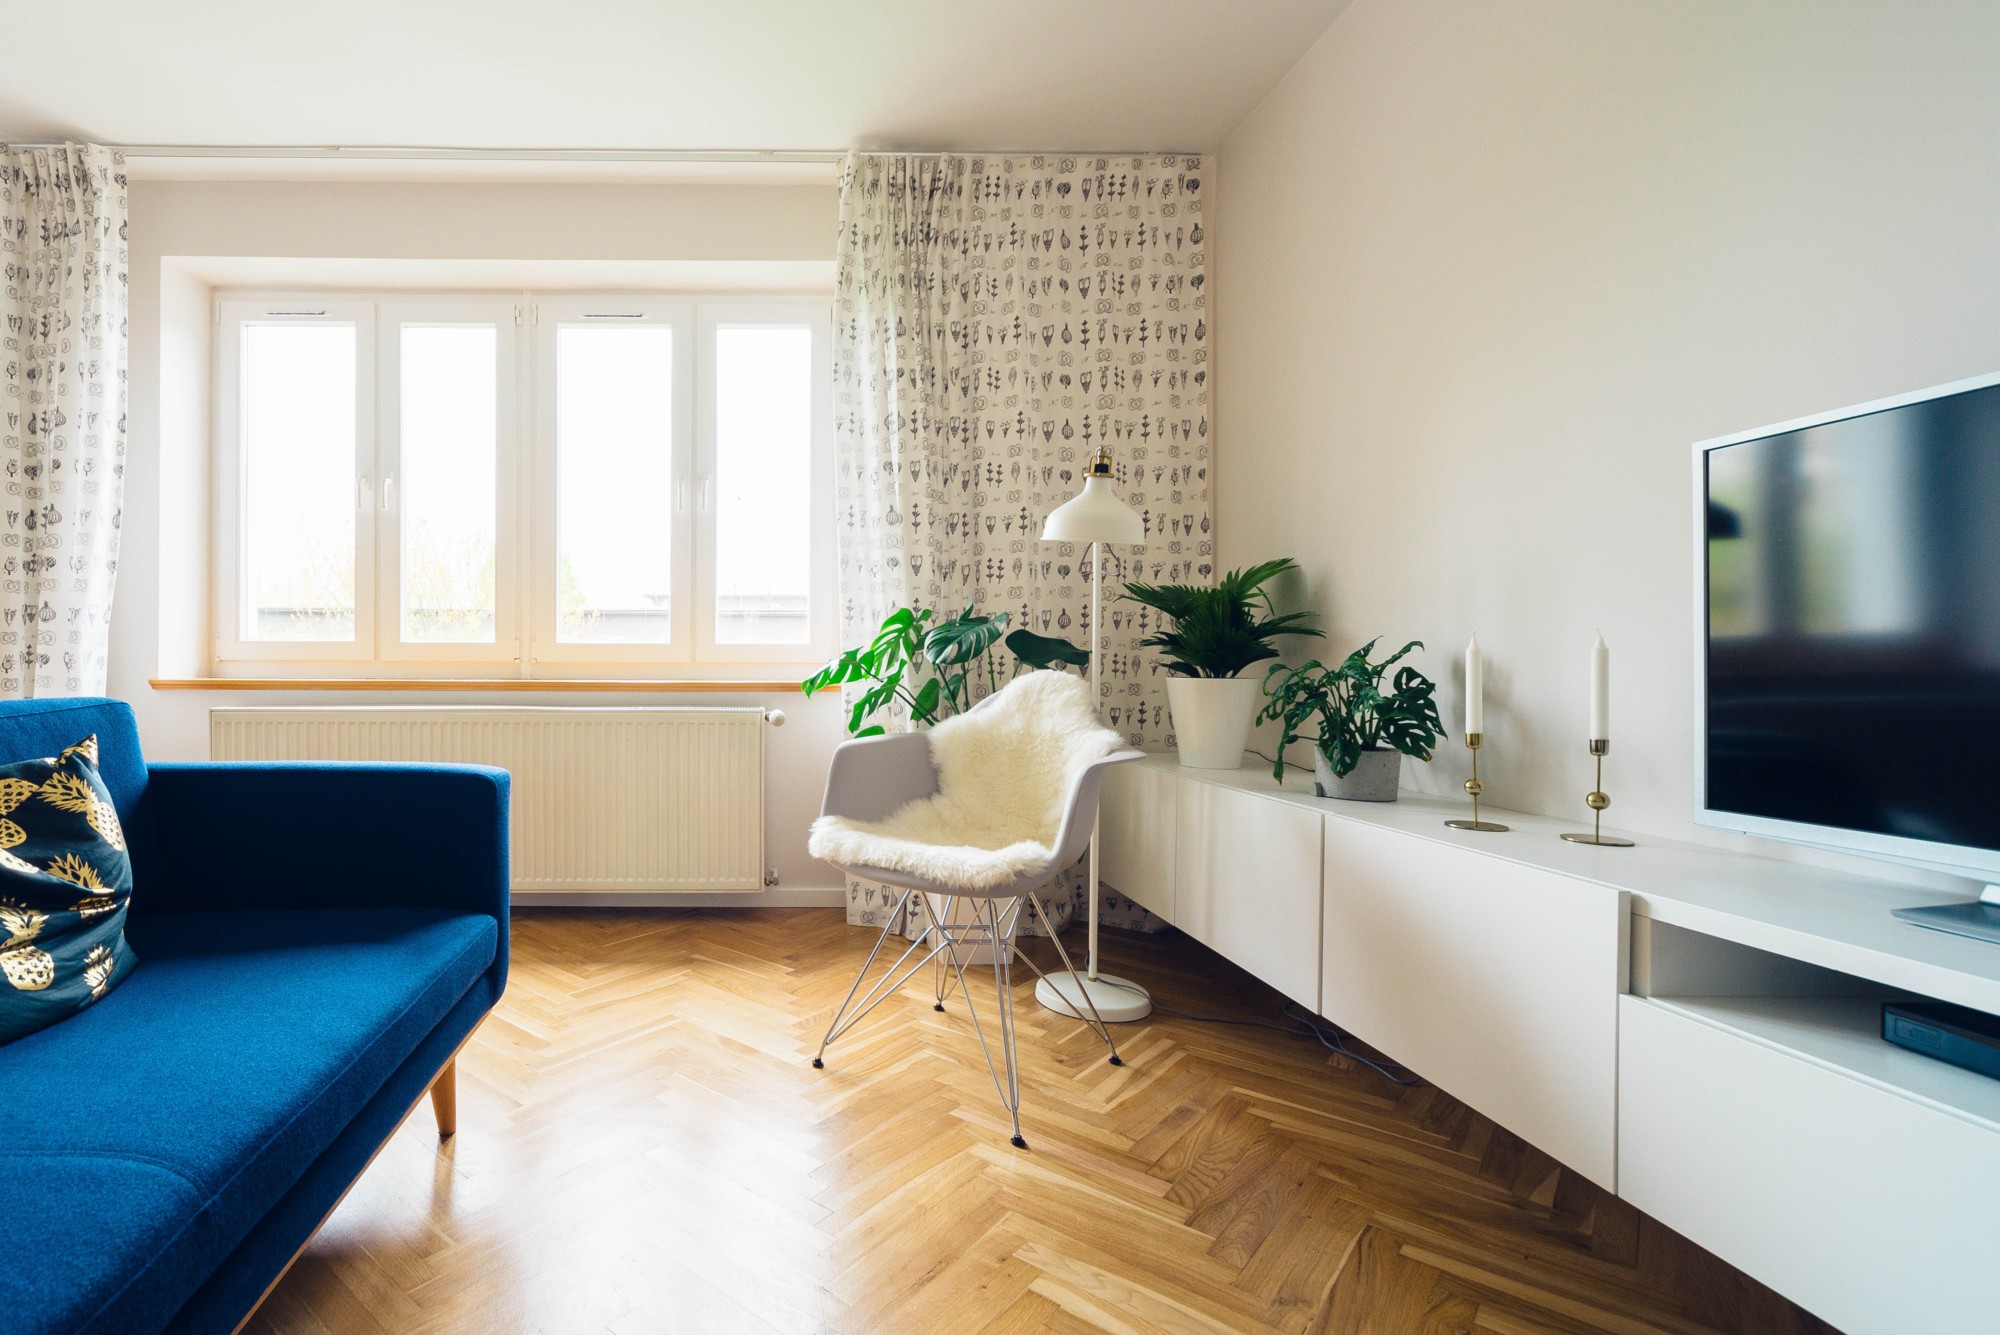
2. Space
Small rooms can be tricky. It’s difficult to get a good angle of the whole room without it looking much smaller than it actually is. Try aiming your camera into the corner of a room to create an image that will showcase an open, airy room instead of a suffocated one-wall shot.

This is also important in rooms with large windows. Since windows are a major draw in the buyer’s decision-making process, you want to include them in the shots. But when you shoot them straight on, you end up with an overexposed photo that just looks like a big blob of light. Follow the corner rule and you’ll be able to show the window and how it brightens the room.
3. Poke Around
Your phone has a lot of really cool features. One of those is the option of shifting the focus of your image. Before you shoot a photo, tap different spots on the screen to find the area of focus that offers the brightest photo and eliminates shadowy areas.

Take multiple photos of each room. If your phone has an HDR (High Dynamic Range) setting, try getting some shots with it turned on and off. Experiment with your camera’s flash; using a flash can be amazing or disastrous depending on your room and the conditions. Take shots from different angles, and try holding the camera above eye level or lower to the ground than you think is necessary to create openness.
Designers learn to design from copying other designers, writers become good writers when they read a broad range of literature and photographers take great photos when they study others’ photography. You don’t have to enroll in a photography course at your local community college, but when you’re flipping through magazines or visiting blogs, take a second to look over the interior photos. You’ll be surprised by how quickly you pick up on what the photographer did to achieve the shot.
4. Photo Editors
I’ve been fortunate enough to serve as a photo stylist for some amazing photographers. Whether we’re shooting a band on the balcony of a hotel, capturing images of a play for publicity or taking fashion portraits, the setup for each shoot is, to say the least, time consuming. (I once had to take scissors to the grass around a couple I was shooting to even out the lawn.) Even then, after planning and preparation, the photographers put these images into Photoshop to make sure everything is perfect.
Don’t worry if your retouching skills are less than professional — app developers have made sure that you don’t have to learn to navigate Adobe Creative Suite to jazz up a photo.
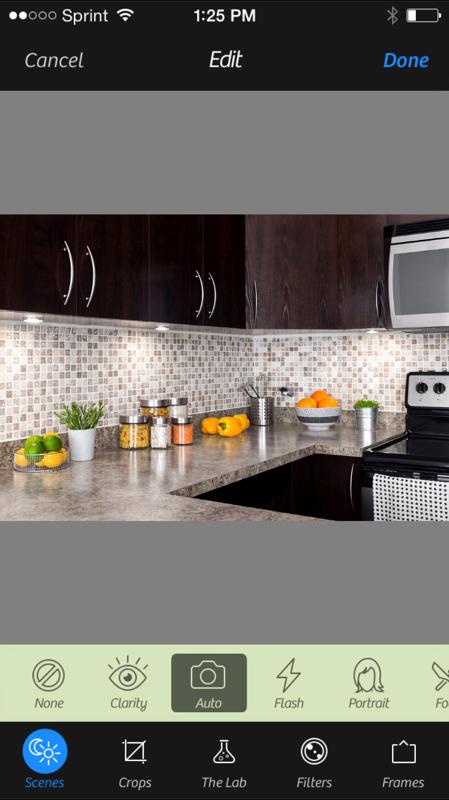
Type photo editor into your app store and prepare to be overwhelmed. There are hundreds. I’ve tried more of them than I’d care to admit, and my favorite is:
Camera+
This is a one-stop shop. You can crop, brighten, add filters and even straighten crooked images in this easy-to-use app. One of its best features is the “scenes” tab, which has presets that allow you to make quick changes to your image. You can choose from clarity, cloudy, fluorescent and more.
My second favorite? Instagram.
“Why,” you ask?
5. Filters
Instagram is really good at the whole filter thing. Filters can brighten, correct color, shift the tones warmer or cooler and generally make your images look more polished. Avoid vintage filters, or anything with a grain or scratched effect, and opt for filters that give a sleek, clean look (think lo-fi).
Instagram also recently updated their settings so that when applying a filter, if you double-click on the filter of choice, you can lower the intensity.
I also really love the app Afterlight for its large library of filters.
Do you use a professional photographer for your listings or do you go the DIY route? Have real estate photography tips and tricks you’d like to share? We’d love to hear from you in the comments below.


![Better Email Etiquette Equals Better Marketing Results [16 Rules]](https://www.outboundengine.com/wp-content/uploads/shutterstock_411184843-1-400x250.jpg)